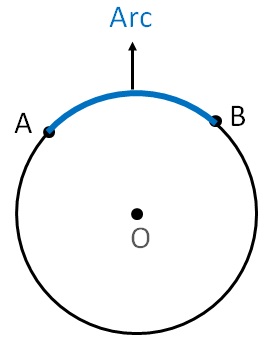
Arcs are useful in a multitude of scenarios. Here I’ve documented techniques for calculating arcs so I don’t have to remember them. From my experience so far…
Things you should and shouldn’t do
Shouldn’t
- Try drawing it freehand – What ever you draw will not be even enough on both sides and you will see a difference
Should
- Make a template for your router – 6mm stock works fine for a template. card is OK but you will struggle to get a clean cut with a stanley knife. I havent tried card stock but good luck getting that in a large size.
- The string technique is awesome and quick
- Finish off the arc with a belt sander. use what ever tools you have, a band saw or jig saw or god forbid a coping saw to make the cut close to your line. use a belt or disc sander the creep up on the line until you are there. It is so easy to overshoot your line and start again. If you are doing a large arc I would consider doing it in sections that you can screw to the work piece.
One: Mathmatically calculating an arc
I have not used this technique but it seems sound to calculate the point not labelled – bottom of the radius R – we will call this point X.

Once you have point X use a piece of string and hold it at point X. Your pencil will be at point Y. draw the arc onto stock or onto larger pieces of paper stuck together. You can use that as a template for your arc.
Two: Template string technique
I have used this technique to make this gate:
PICTURE OF GATE
There are four steps to this technique
Three: Bending wood
Not tried this yet but I’ve heard it works
